Angelica Wedell brings more than eight years of experience in multimedia communications to her role as marketing and business development coordinator and editor-in-chief of The Civil Review at National Research Center, Inc (NRC).
By Angelica Wedell – LinkedIn, Twitter, Website
A new year is on the horizon, along with a host of local government conferences to plan for. Whether you are attending, hosting or presenting in a conference, you will have huge opportunities to grow in your profession and network at each gathering. The communication opportunities don’t just end at the conference itself. Afterwards, your peers back home will want to glean some of the knowledge you learned. Colleagues you met will want to follow up with you. Your online following will appreciate the transparency of an update.
Just a pinch of multimedia can make your conference recap much more effective. Showing your audience the event through descriptive images and language will engage them with your story and help them remember it. Today, anyone with a camera can easily show the action.
While it’s nice to have a trained videographer on the team to take care of event videos for you, the absence of one is no excuse. Your audience is already communicating with online video, and the truth is, they expect it from you too. So here are a few tips on how to create a great conference web-video, even when all you have is a smart phone.
I used a DSLR camera to capture this ICMA Conference video, but the same rules apply to cell-phone videos.
Lights, Camera, Action!
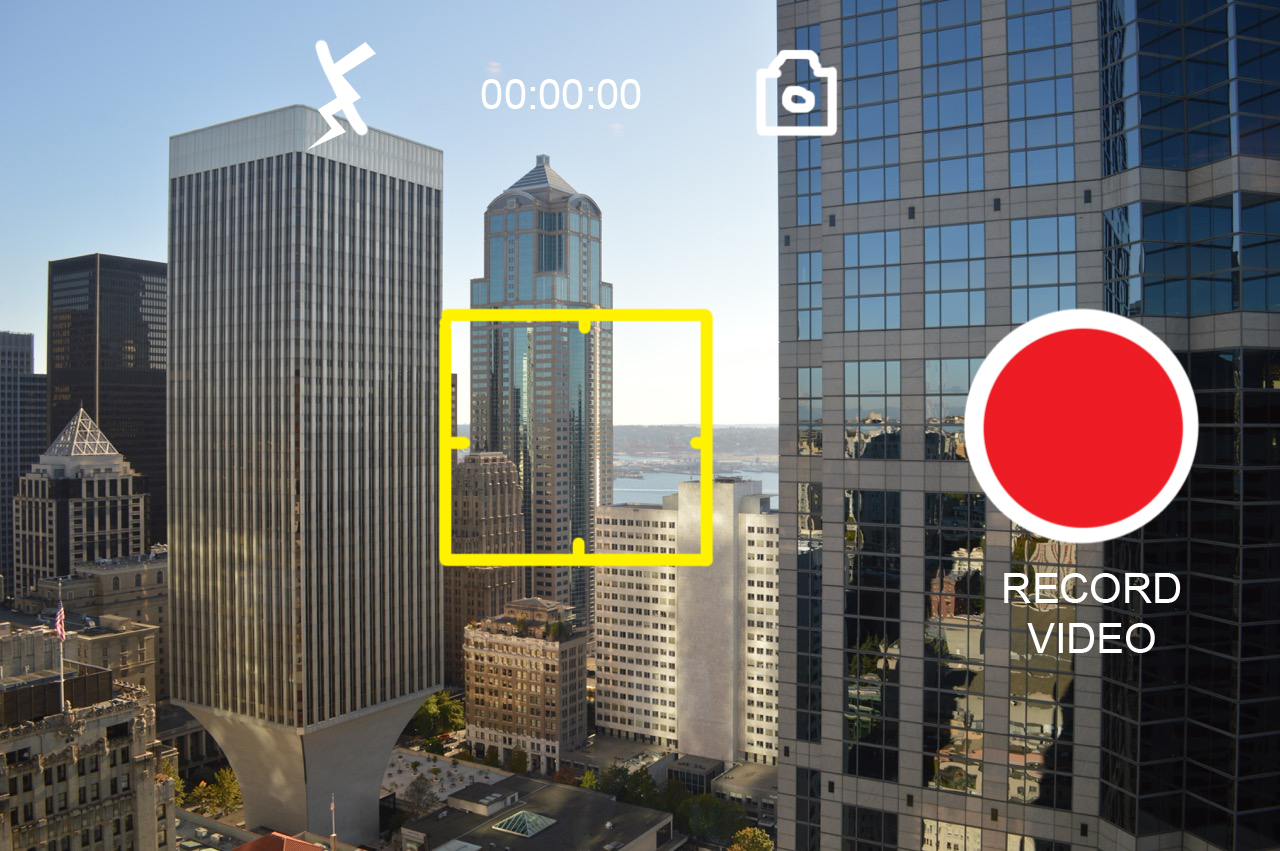
Widescreen. Always hold your smart phone horizontally for widescreen video.

Brace yourself. When recording, breath slowly and hold still to get a steady shot. Handheld shots always show some movement, so you may want to invest in a tripod with a cell-phone mount.
Follow the light. Make sure your subject is facing the light source so there are no shadows mystifying a person’s face. Look for bright lamps or windows where the sun in shining through. You may want to consider a small LED light to clip onto your camera, to chase shadows away from faces.

B-roll. You need lots of video clips that show everything besides the interview. These are your cutaways, establishing shots, closeups, dancing beavers and the like. For only 20 seconds each, record everything. Start with wide shots, move in physically for medium shots and get close and personal for tight shots. Never use the digital zoom on the smart phone (that will only increase shake and reduce image quality.) Record one image at a time to make your life easier in editing. You can also use still photos for B-roll.

Get interviews. Interviews (A-roll) work very well to add content value and human connection. Make sure the subject’s face is well-lit, with no unflattering shadows.

The Rule of Thirds. Place your subject in the left or right third of the screen. If you are using a tripod, stand just to the side of it while you record the interview, and have the subject look at you in the direction where there is lead-space on the screen. If you don’t have a tripod, you may have no choice but to have the subject look directly into the camera.

Good Audio. Bring your earbuds with you so you can listen to your recordings. If you are at a large conference, try to find a quiet spot. Stand close enough to the subject for the internal mic to pick up their voice well. For better audio, you may want to bring a plug-in microphone or separate audio recording device. Do a clap sync if you have a separate audio recording device.

Do a Standup. If you have a tripod (or a trusted friend to hold your phone) jump in front of the camera, do a little count down and say a couple of things about the conference. You will use this later to bridge your interviews together.

The Script. Wait till you’ve captured all your interviews and images to write the script. Match the words to what is seen. Interviews will also help direct the angle of your story. I usually listen to all my interviews, pick out a couple good quotes and tell the rest of the story with the Voice Over script.
Voice Over. Smart phones come with a voice recording app and while you may not have a recording studio, you probably do have a coat closet. The fabric in there will help insulate sound and block out that annoying hum from the air-conditioner.

Edit. Now it’s time to put all the pieces together. You’ll need an editing software (there are free ones available for basic videos). Lay down your voice over and Interview bites first. Then lay the appropriate B-roll on top of your Voice Over. Avoid black frames and jump-cuts. Add a 4 second title at the beginning to introduce your video.

Music. Tunes are optional but they sure add atmosphere. Make sure you have the rights to all the music you use. For free Creative Commons songs, check out YouTube’s selection or the Free Music Archive (with citations in the video)

Export your completed video and upload it online. Be sure to embed it into your blog and share it on social media!

Supplemental Reading
Who Are You? with Angelica Wedell, National Research Center
